

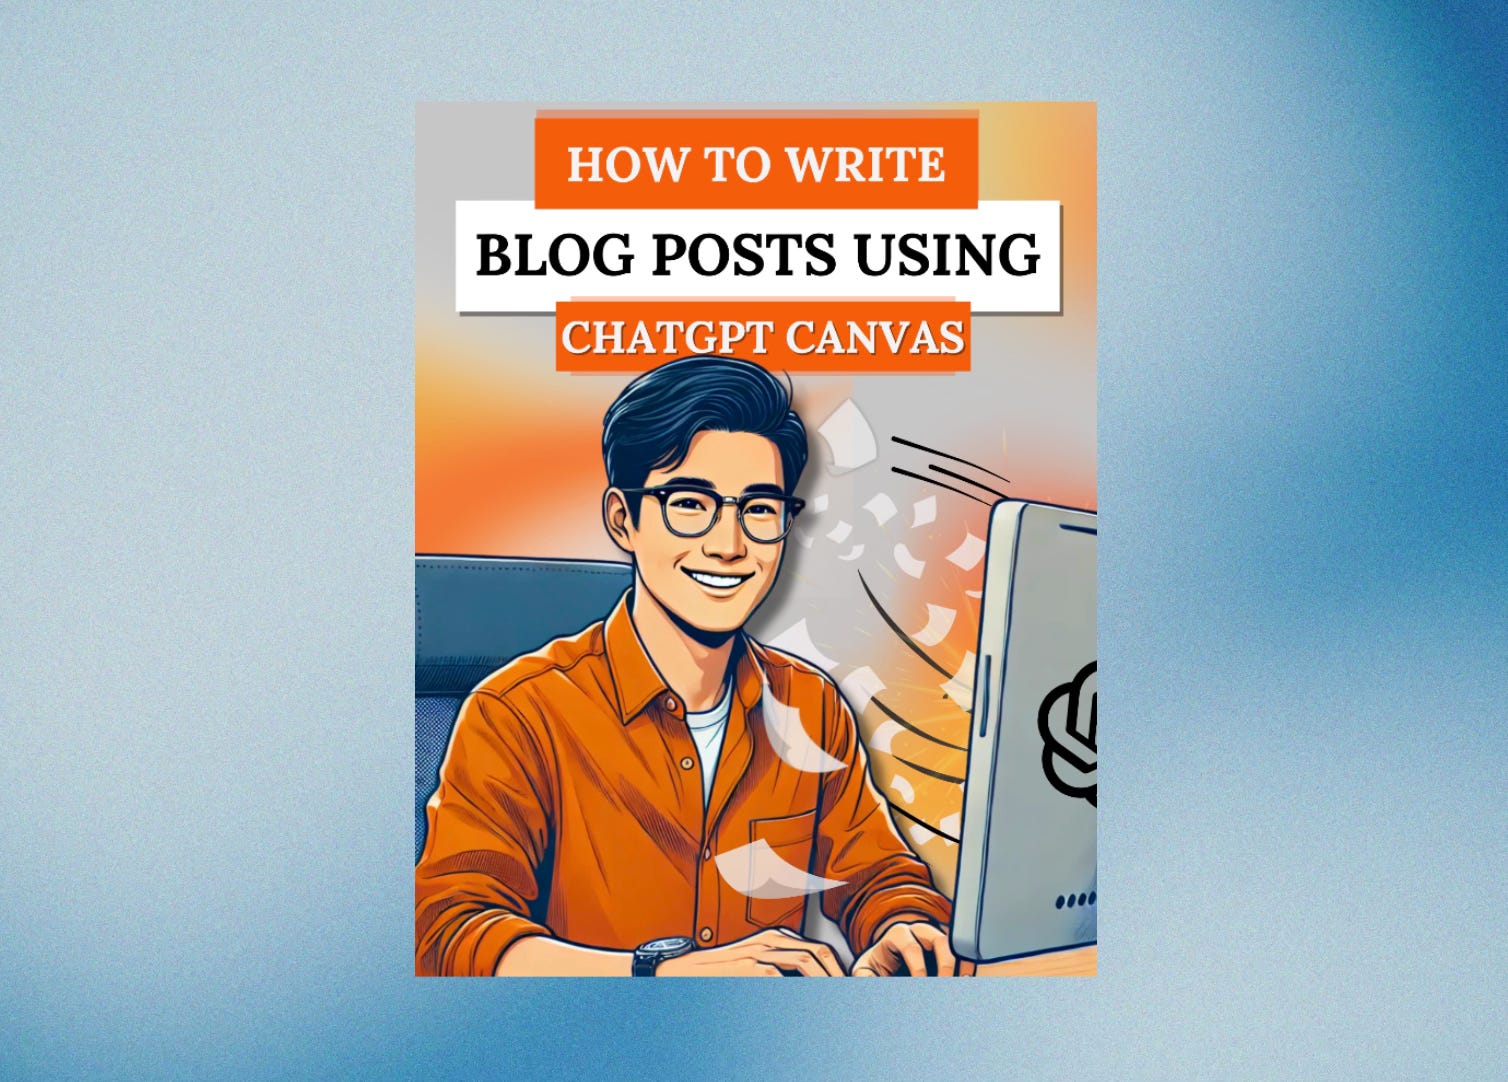
How to Write Blog Posts Using ChatGPT Canvas: Fast, Efficient Content Creation
Master Blog Writing with ChatGPT Canvas: Effortlessly Draft, Edit and Optimize Posts for Maximum Engagement
🔗 Some useful links to bookmark ⤵️
Want to reach out to with our editors? Click below to DM our staff 💬
Know a friend that would use this tutorial?
Refer 3 friends and get 1-month premium subscription
✍️ This week’s review:
How to Write Blog Posts Using ChatGPT Canvas: Fast, Efficient Content Creation
TL;DR:
This tutorial teaches you how to use ChatGPT Canvas to efficiently write blog posts, leveraging AI’s capabilities for drafting, editing, and optimizing content. With a simple setup, you can create well-structured posts tailored to your audience quickly.
What You Can Do with This Tutorial:
Learn how to use ChatGPT Canvas for writing blog posts.
Understand how to refine AI-generated content for readability and engagement.
Explore additional features to improve your posts, such as adjusting the reading level and editing for clarity.
Summary of the Tutorial:
1. Download the Guide
Objective: Access a comprehensive guide on writing blog posts using ChatGPT Canvas.
Action: Comment “guide” to get the free tutorial and start learning about this tool.
2. Create an Account on ChatGPT
Objective: Get set up on ChatGPT’s platform.
Action: Go to chat.openai.com and create an account. Note that you’ll need a paid subscription to access Canvas.
3. Select GPT-4 with Canvas Mode
Objective: Use the specific GPT-4o with Canvas model to start drafting your blog posts.
Action: After logging in, choose the “GPT-4o with canvas” model from the dropdown.
4. Give ChatGPT a Prompt
Objective: Direct ChatGPT to write a blog post by providing a detailed prompt.
Prompt Example:
“You are an experienced senior tech writer. Write a blog post titled ‘Modern Data Stack: Definition, Components, Explanation’. The post should be technical, aimed at data scientists, engineers, and tech leaders.”
5. Explore the Canvas Editor
Objective: Understand how the Canvas editor works.
Action: The Canvas editor lets you directly edit and refine the content while ChatGPT assists in structuring your blog post.
6. Make Custom AI Edits
Objective: Tailor the content to better meet your needs.
Action: Highlight sections of the text, and ask ChatGPT to improve readability, tone, or to edit specific parts for clarity.
7. Watch ChatGPT Work Its Magic
Objective: See how ChatGPT edits and improves your content.
Action: ChatGPT will rewrite your content, providing enhanced versions with better hooks and clarity.
8. Humanize the Content
Objective: Refine the content to sound more engaging.
Action: Break up long paragraphs, empathize with your target audience, and add more insights to keep the reader engaged.
9. Copy and Paste Into Your CMS
Objective: Transfer the final draft into your content management system.
Action: Use the copy feature in ChatGPT Canvas to easily copy the content into your blog platform.
Bonus Features: Additional Tools
Objective: Use extra features to polish the content further.
Action: ChatGPT Canvas provides additional tools such as adjusting length, modifying the reading level, adding emojis, and suggesting final edits for refinement.
Conclusion:
ChatGPT Canvas is a powerful tool for quickly generating and refining blog posts. By following this tutorial, you can use the AI’s capabilities to draft, edit and finalize content, making it easier to produce high-quality posts for your blog or marketing strategy.